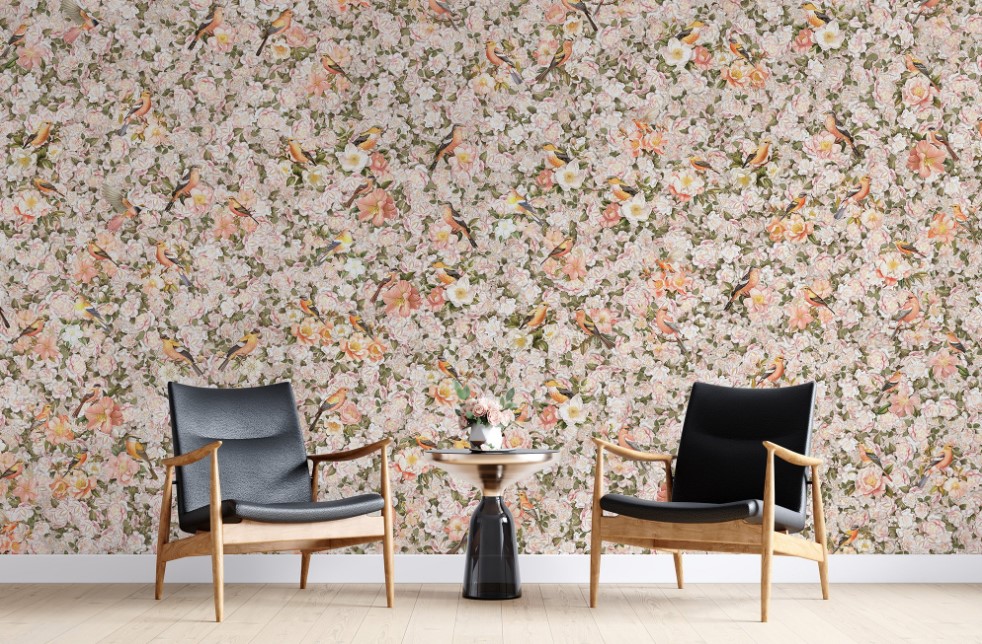
Wallpaper – it’s not just for your grandma’s living room anymore! From bold metallics to lush grasscloth, unique textures to captivating murals, specialty wallpapers can add a touch of drama, elegance, or personality to any room. But achieving a flawless, long-lasting application all boils down to one crucial element: the glue.
The Glue Gang: Choosing the Right Weapon
Not all wallpaper glues are created equal. Here’s a breakdown of the most common types of wallpaper glue for specialty wallpapers to help you choose the right one for your project:
- Heavy-Duty Vinyl Adhesive: This powerhouse glue is ideal for heavyweight wallpapers like vinyl, metallics, and some textured options. It provides a strong bond that can withstand moisture and wear and tear.
- Grasscloth and Linen Adhesive: Formulated specifically for delicate natural fiber wallpapers like grasscloth and linen, this glue offers a strong yet gentle hold without damaging the fibers.
- Mural Paste: Designed for large-scale murals, this paste offers excellent coverage and a repositionable quality, allowing you to adjust the mural placement before it sets permanently.
- Dispersible Paste: This versatile, water-based glue is suitable for a variety of lighter weight wallpapers like non-woven and paper-backed vinyl. It’s easy to use and clean up.
- Pre-pasted Wallpaper: Some wallpapers come pre-pasted, eliminating the need for separate glue. However, this option might not be suitable for all wall surfaces or all types of wallpaper.
Gearing Up for Glue Glory
Now that you’ve chosen your champion glue, here’s what you’ll need for a successful application:
- Wallpaper paste bucket or tray: Choose a container large enough to comfortably hold your mixed glue.
- Mixing tool (whisk or drill attachment): Ensure you have a tool to create a smooth and lump-free glue mixture.
- Paint roller with a nap suitable for your wallpaper type: A roller ensures even glue application. Nap size varies depending on the wallpaper thickness – thicker wallpapers require a thicker nap.
- Wallpaper brush: A brush is helpful for applying glue to edges, corners, and around fixtures.
- Tape measure: Measure your walls and wallpaper to determine the amount of glue you’ll need.
A Step-by-Step Guide
- Prepare Your Battlefield (Walls): Similar to any wallpaper project, ensure your walls are clean, dry, smooth, and free of dust or debris. Patch any holes or cracks beforehand.
- Measure and Mix: Following the manufacturer’s instructions on the glue packaging, measure and mix the appropriate amount of glue powder with water. Use your chosen mixing tool to create a smooth, lump-free consistency.
- The Rolling Rebellion: Pour a generous amount of glue onto your tray or bucket. Use the roller to evenly coat the entire surface of the designated area on your wall. Remember, it’s always better to have a little too much glue than not enough.
- Brushing Up on the Details: Use the wallpaper brush to apply glue to the edges, corners, and around fixtures where the roller might not reach. Ensure these areas are well-coated for a secure bond.
- Wallpaper Prep (Optional): While some specialty wallpapers might require pre-pasting according to the manufacturer’s instructions, others don’t. Always follow the specific recommendations for your chosen wallpaper.
- Hanging with Confidence: With your glue-coated section ready, carefully hang your wallpaper strip, aligning the pattern as needed. Gently smooth out any air bubbles using a wallpaper smoothing tool or a clean cloth.
- Repeat and Rejoice: Continue applying glue in sections, hanging your wallpaper strips one by one until your entire wall is adorned.
- Cleaning Up the Crew: While the glue is still wet, use a damp cloth to wipe away any excess glue that might have squeezed out from the seams.
- Drying Time is Prime Time: Allow the glue to dry completely according to the manufacturer’s recommended drying time. This can vary depending on the glue type and the room temperature.
- Mind the Temperature: For optimal glue performance, maintain a moderate room temperature (around 68°F to 77°F or 20°C to 25°C) during application and drying. Avoid applying glue in very cold or hot environments.
- Work in Sections: As mentioned earlier, don’t coat the entire wall with glue at once. Apply glue in manageable sections to prevent drying before you have a chance to hang the wallpaper.
- Clean as You Go: Wipe away any excess glue that might ooze out from the seams while it’s still wet. This will prevent dried glue stains and make cleaning up easier later.
- Protect Your Floors: Use a drop cloth to protect your floors from glue drips and splatters.
- Safety First: Wear gloves when handling glue to protect your hands from irritation.
Wrapping up
By choosing the right glue, applying it meticulously, and following these helpful tips, you’ll ensure your stunning specialty wallpaper stays put for years to come. Remember, a little preparation and the right tools can make a world of difference in the longevity and overall success of your wallpaper project.